小麦粉とココアの断層実験レシピ その1  yossi.okamoto at mark gmail.com 2018年5月2日新装2019年11月29日追記.
Recipe for Flour and Cocoa Fault Experimental Part.1 2023-06-25, 07-26 in English

この断層実験はYouTubeなどでも散見されますが,いずれも地層の作り方が洗練されていなくて,きれいな地層になっていないのが残念です.ここでは”元 祖”小麦粉とココアの断層実験のやり方を説明します.参考文献は下記にあります.ただし古いスライドケースを用いた実験です.

This fault experiment can be found on YouTube and other sites, however unfortunately, the method of creating the strata is not sophisticated and does not show beautiful strata. Here we explain how to do the "original" flour and cocoa fault experiment. References are listed below (However, this experiment was performed using an old slide case).

大阪府教育センター紀要へ書いた記事
大阪と科学教育14,13-16,2000

Article written for the Bulletin of Osaka Prefectural Education Center, Osaka and Science Education 14, 13-16, 2000 in Japanese

Yoshio Okamoto: A Tiny Fault Model in a Slide-case using Flour and Cocoa, GeoSciEdIV Cargary 2003 proceedings,169-170

紹介していただいたサイトは下記です.
http://futabagumi.com/archives/845.html

(Now in Japanese)
この断層実験で観察できることがら 別ページへ
この断層実験を成功させるコツ(追記.Making Movie, 「断層クッキー」のレシピ!) 
別ページへ
この断層実験の古い日本語報告(上記リンク
 別サイトのリンクへ.
この断層実験の古い英文報告(GeoSciEdIII, at Calgary, Canada 2003) 別ページへ

実験の詳細はその2へ http://www.yossi-okamoto.net/Fault_exp/Fault_exp_Part2.html
The details of experiment is
http://www.yossi-okamoto.net/Fault_exp/Fault_exp_Part2.html

0.装置の製作

0. Makind tools

昔はスライドケースを用いた(少しだけあったストックを加工したもの).
In the past, slide case for film was used (From a bit of stock,  we craft them).
Using electric jigsaw: https://youtu.be/ShGVbXQuiHw


現在は入手不可能なので,百均で同様のアクリル容器を探すか,下記のように自作する.
Since they are not available now, you can either find similar acrylic containers at a hundred-yen shop, or make your own as shown below.

<Sorry in Japanese>
 ・アクリル板の入手はヤフオクでアクリル,端材で検索するか,下記のサイトを利用する(下記のサイトは特におすすめ.アクリル板の端材がとても安く教材作りに重宝します).
http://www.acry-ya.com/acry-ya_new/html/diy/htm/hazai.htm

・アクリル板の切断はアクリルカッター,接着はアクリルサンデーが必要(DIYセンター,Amazonなどで購入).

・アクリル板の工作については,下記のサイトがとても詳しい.
http://www.acry-ya.com/acry-ya_new/html/tokucyo/htm/tokucyo2.htm


<アクリル容器の製作>

Making acrylic box

厚さ3mmの板が使いやすい.慣れると以下の方法で厚さ5mm程度の容器も作れるようになる.ただし厚くなるとくれぐれも折るときに怪我に注意.私は必ず保護メガネをかけます.また切り口で誤って手を切ることがあります.これも注意!内容は当然無保証です.(2019年11月30日,アクリル板カットMovie追加

A 3mm-thick plate is easy to use. Once you get used to it, you can make containers as thick as 5mm by the following method. However, be careful not to injure yourself when folding the thicker sheet. I always wear protective glasses. Also, you may accidentally cut your hand with the cut end. Be careful of this too! The contents are not guaranteed. (Movie of acrylic sheet cutting added on November 30, 2019)

img_6863.jpg img_6859.jpg
アクリル板に線を引いて,カッターで強く引き溝を切る(これアクリル専用カッターです.DIY店で売っています.普通のカッターナイフは絶対に不可です.手を切ります!).

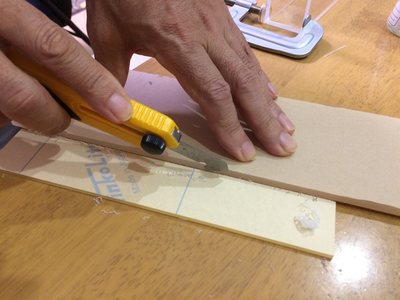
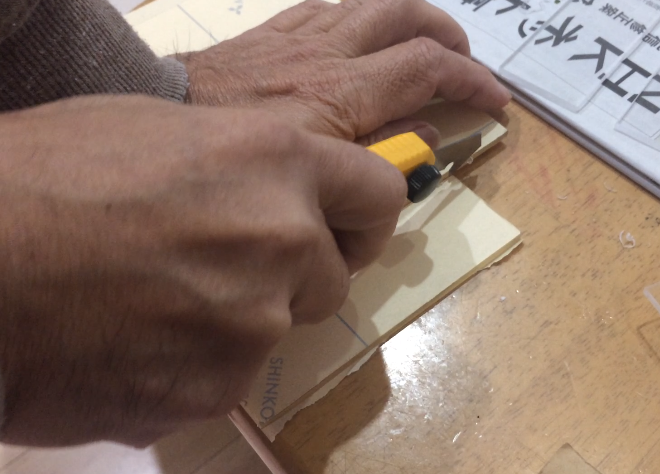
Draw a line on the acrylic board cover paper and groove by pulling hard with a cutter (This is a cutter specially designed for acrylic, available at DIY stores. (This is a cutter specially designed for acrylic, You should never use an ordinary cutter knife.-- it is very dangerous!)


溝は5〜6回力強く引いて作る.

The groove is made by pulling rapidly 5-6 times.


img_6861.jpg img_6866.jpg
裏返して,保護用紙をめくって裏の線にそって同様に溝を入れる.当木(あてぎ)を溝ぎりぎりに置くことに注意.
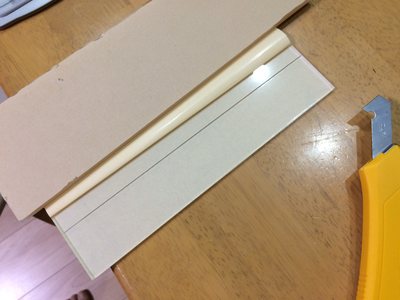
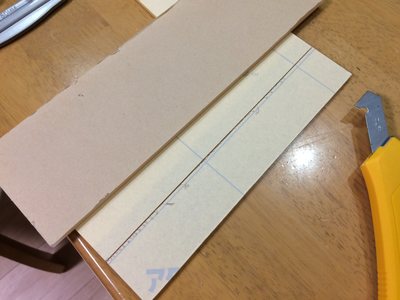
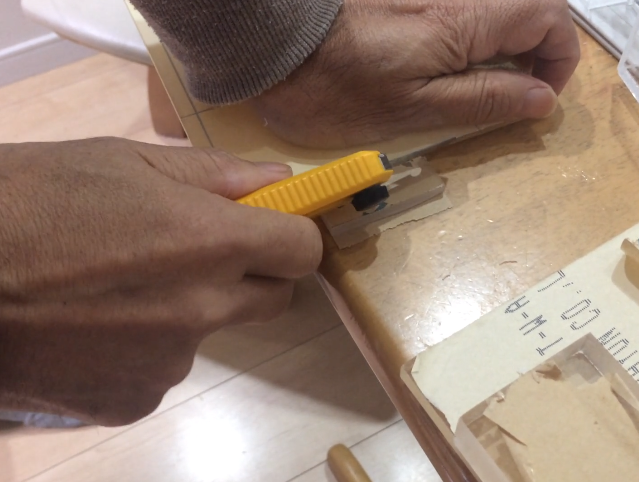
Remove the protective paper, and make a groove along the line on the reverse side in the same way. Be careful to place the table just at the edge of the groove.
そのまま折りにくいときは図のように硬い金属などではさんで折るときれいに折れる.

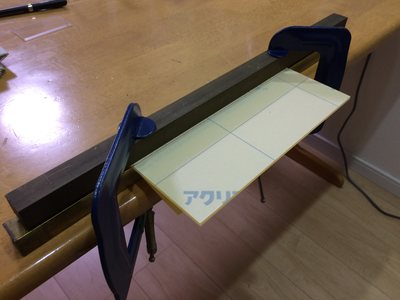
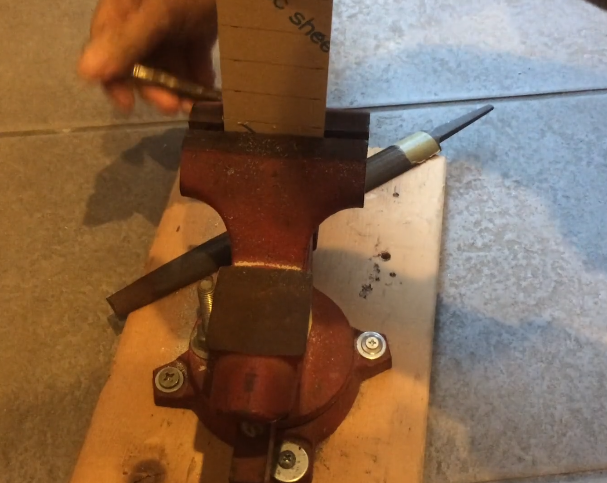
If it is difficult to fold the piece as it is, fold it neatly by clamping it between two pieces of hard metal, as shown in the figure.
img_6848.jpg img_6856.jpg
接着はクランプなどを使って,隙間にアクリルサンデーを流し込む.隙間が透明になると接着剤がきれいに流れた証拠.水槽を作るのではないのでそれほど神経質になる必要はない.

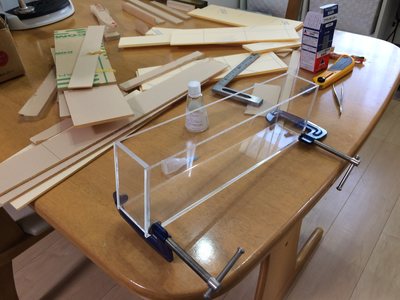
Use a clamp to pour acrylic glue into the gap. When the gap becomes transparent, it is an evidence that the adhesive has flowed cleanly. It is not necessary to be so nervous because it is not for making an aquarium.
押し板やスペーサー(白)も作って,様々なサイズのセットが完成.

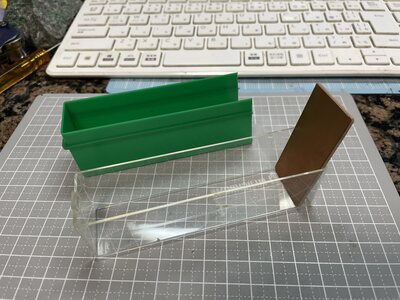
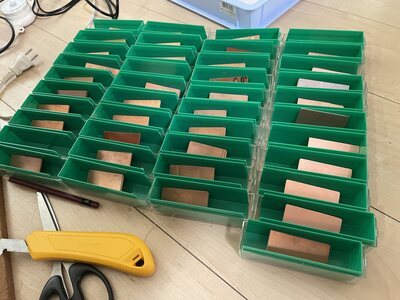
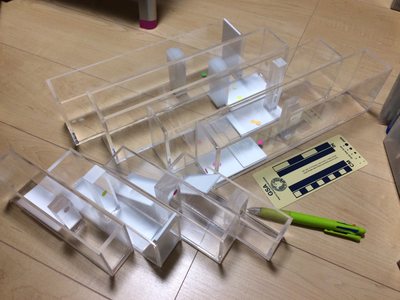
Various sizes of sets are completed by making push plates and spacers (white).


薄いアクリル板(3mm)のカットMovie Part1. click start
Cutting a thin acrylic plate (3mm) Movie Part1. click start
薄いアクリル板のカットMovie Part2. click start こういう作業では図のクランプが重宝する.はさんでいるのは2枚の厚さがとても厚いアクリル板を「やとい」(作業の補助パーツ)にしている.

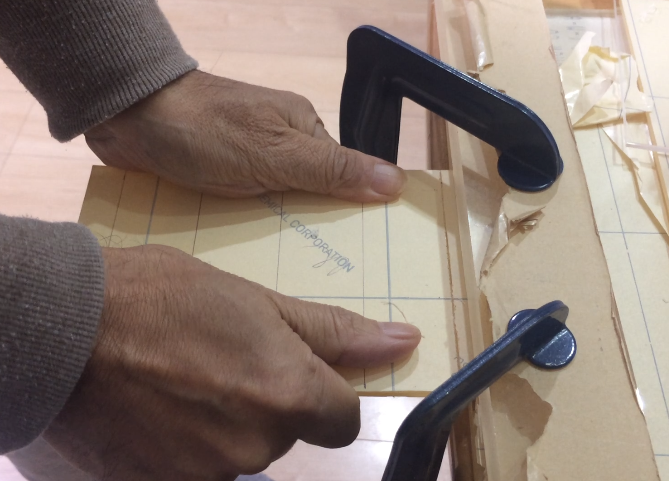
Cutting a thin acrylic plate (3mm) Movie Part2. click start The clamp shown in the figure is useful for this kind of work. Two very thick acrylic sheets are used as "yatoi" (auxiliary parts for work).


厚いアクリル板(5mm)のカットMovie Part3. click start
Cutting thick acrylic plate (5mm) Movie Part3. click start
厚いアクリル板(5mm)のカットMovie Part4. click start
Cutting thick acrylic plate (5mm) Movie Part4. click start
img_5493.jpg img_5453.jpg
アクリルケースと押し板の完成品その1.
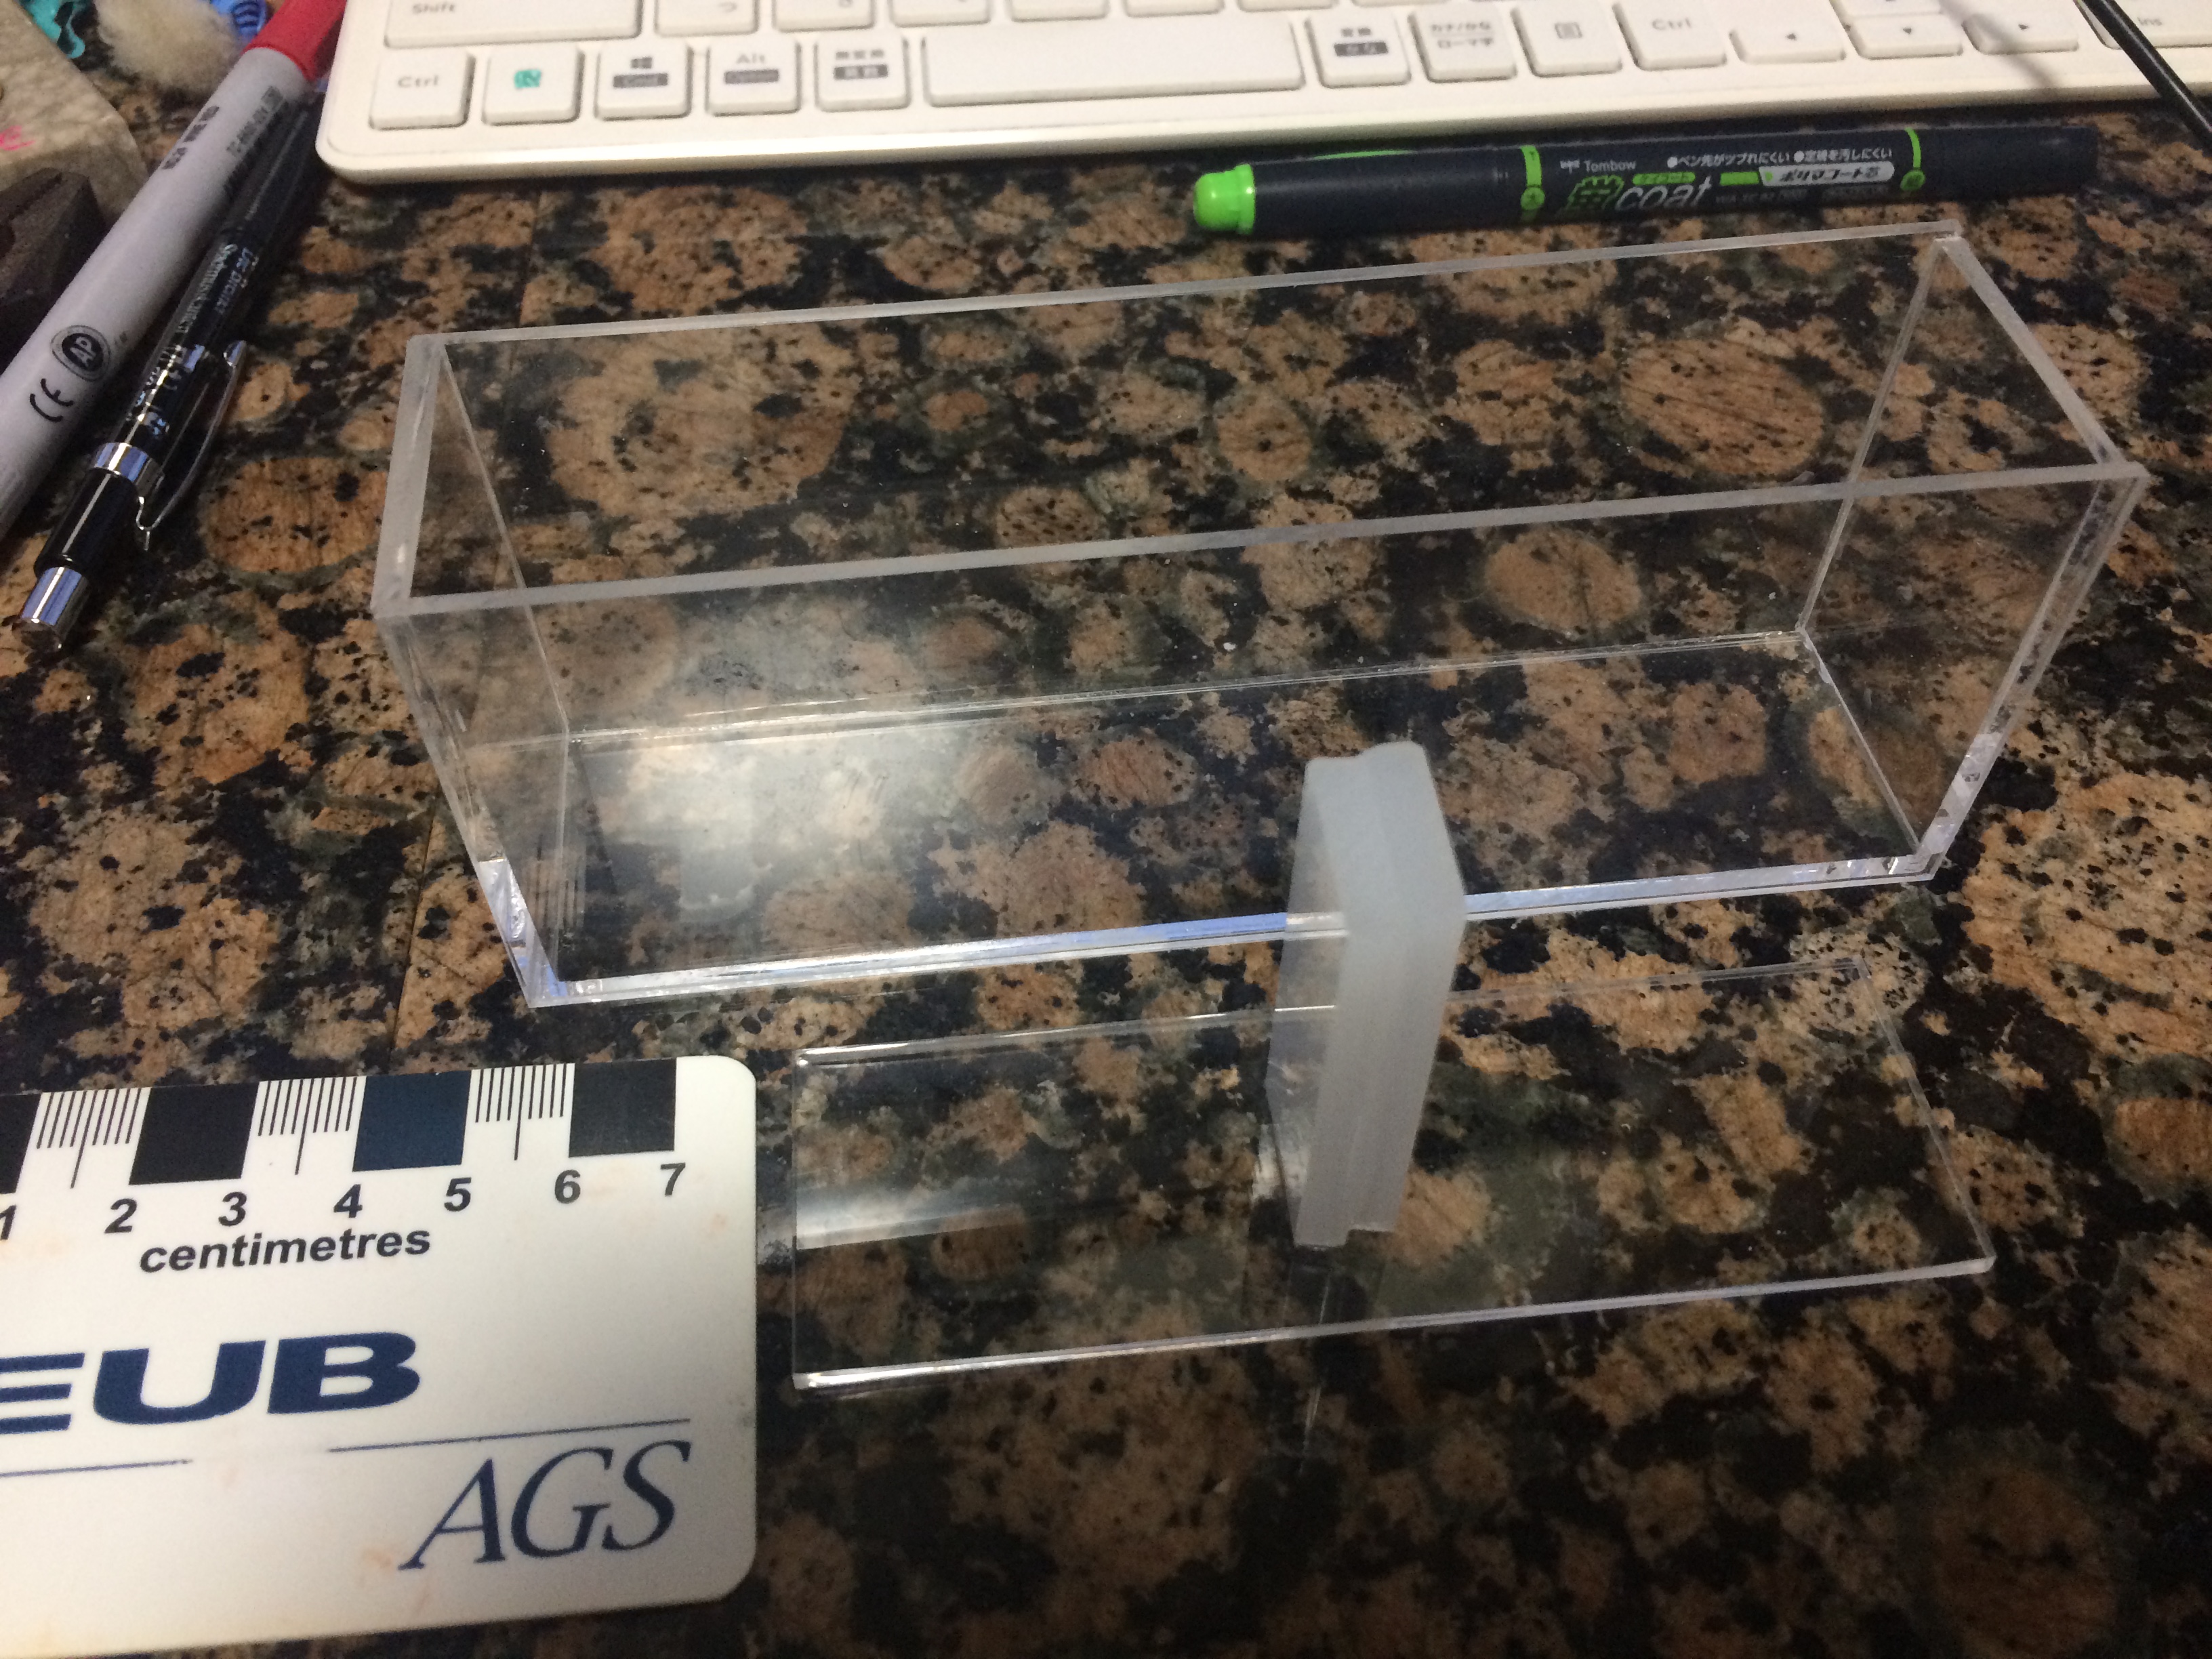
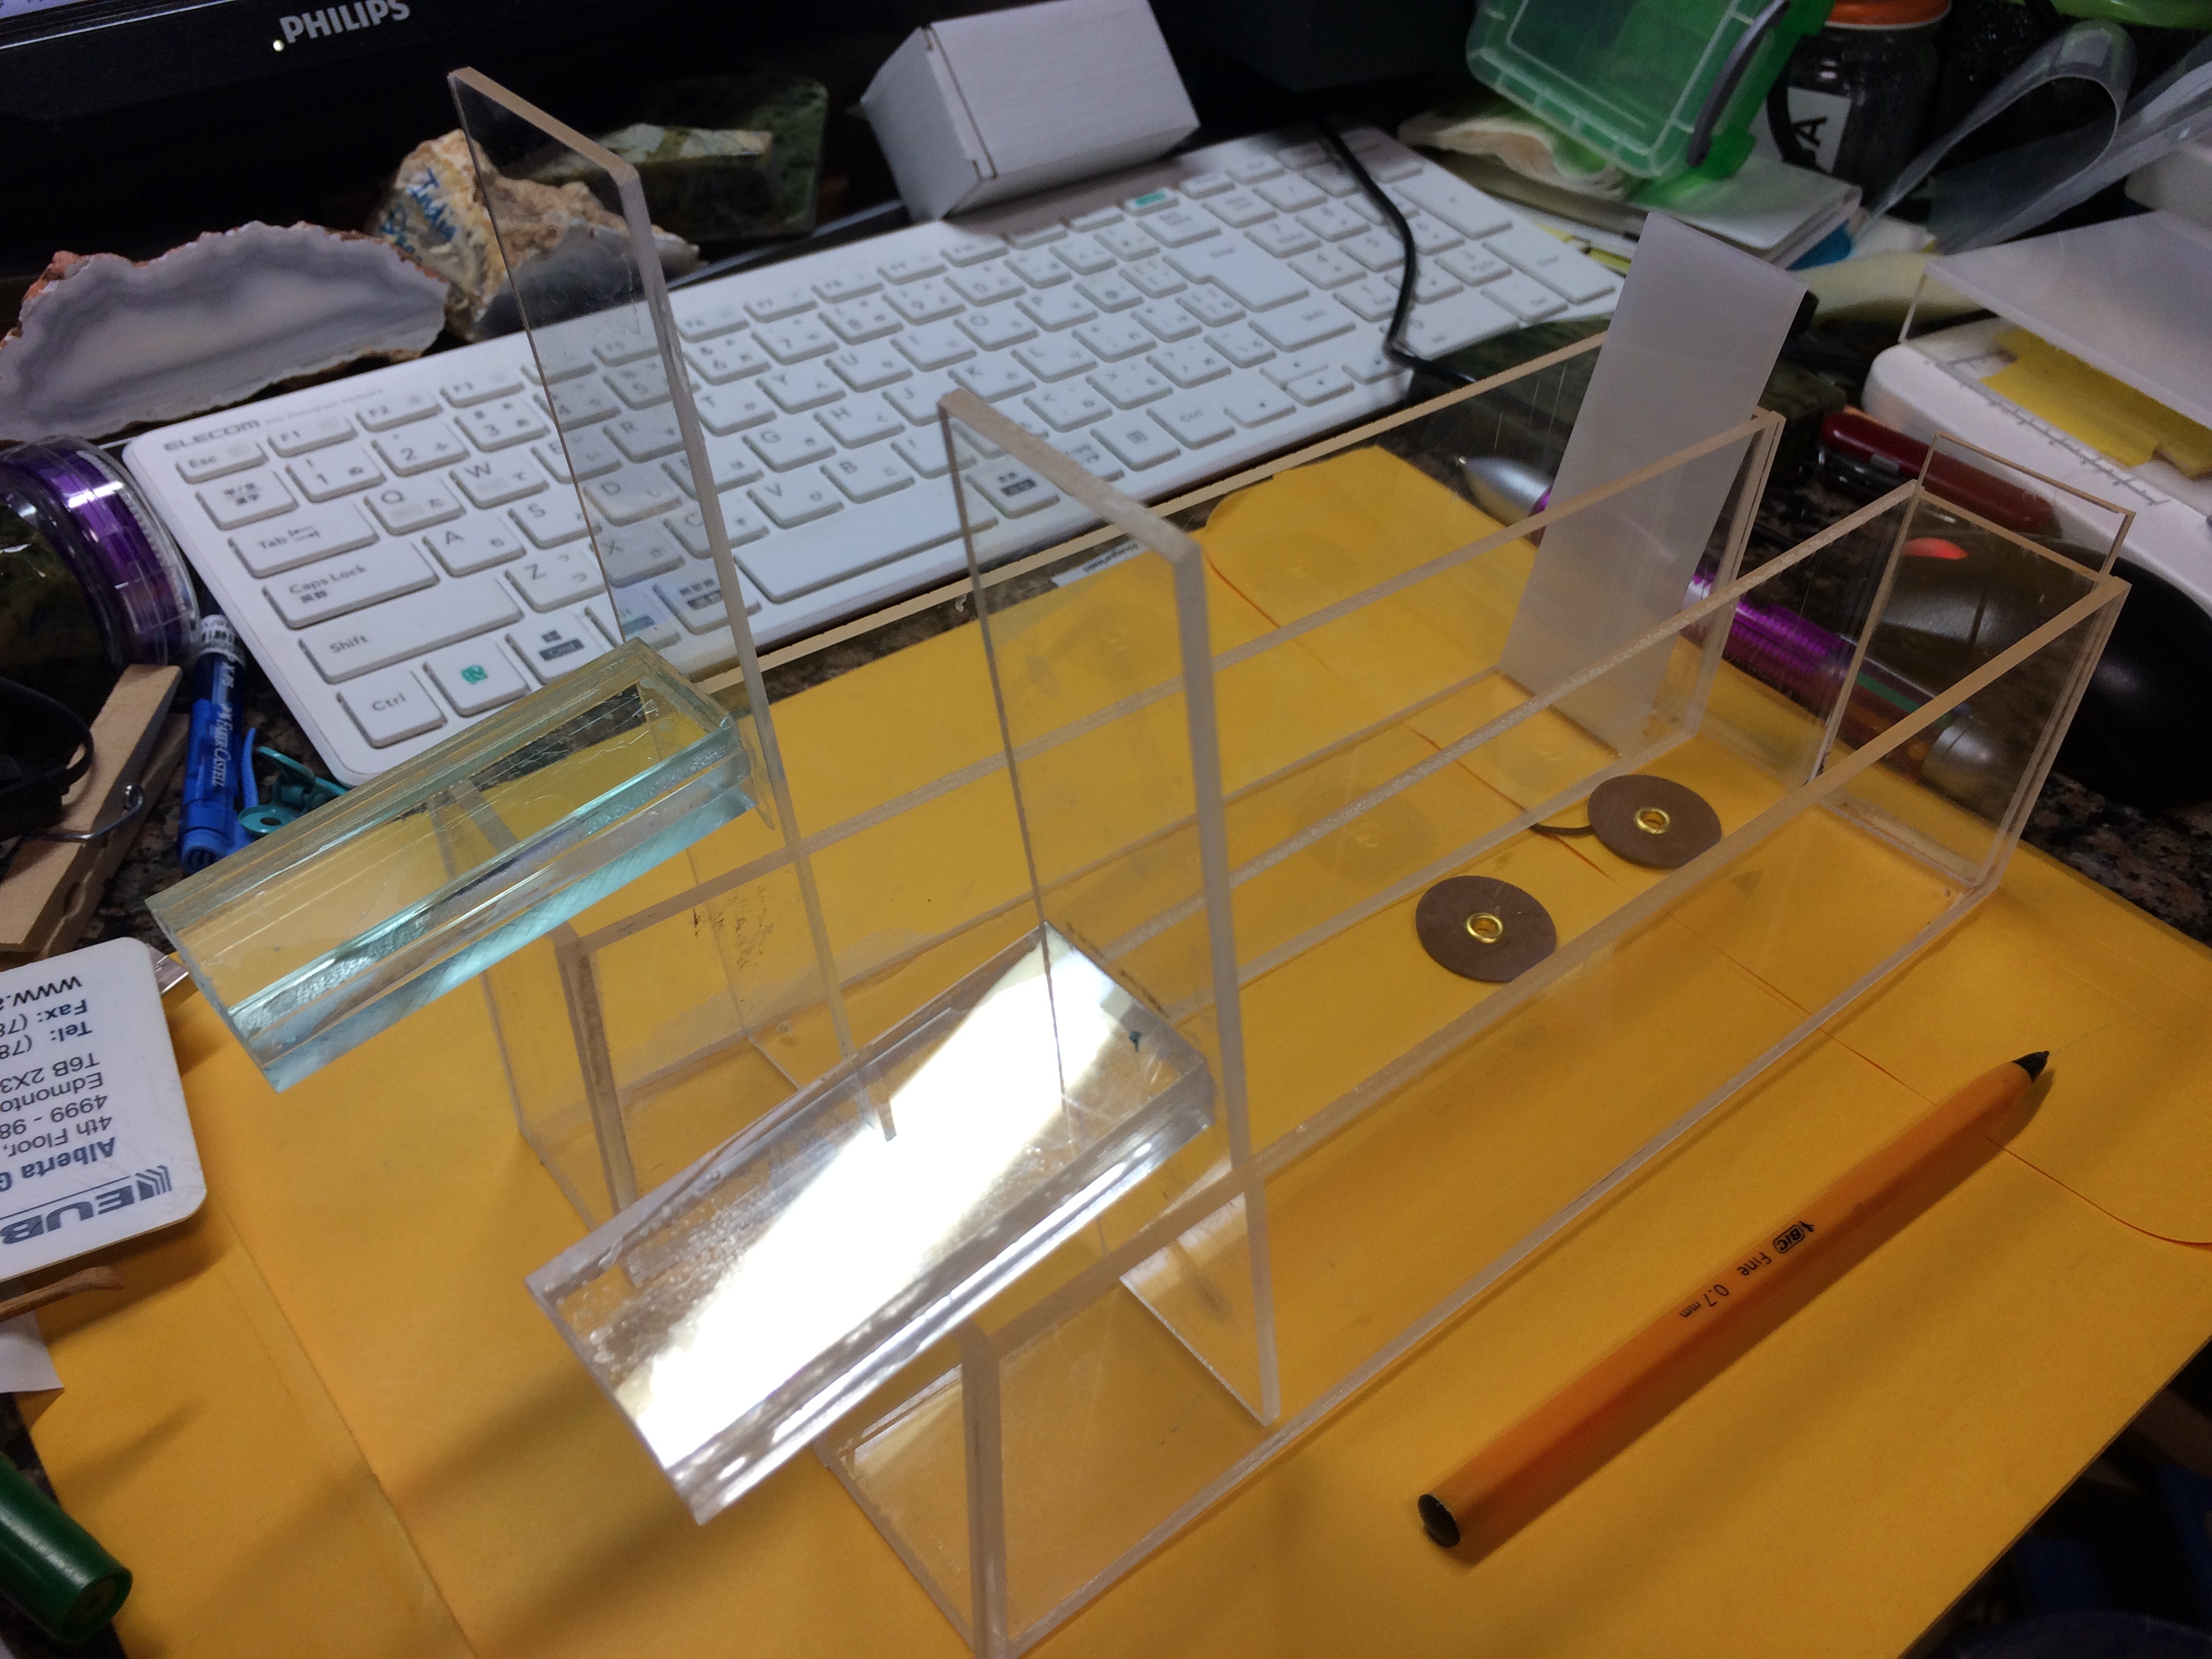
Finished acrylic case and pressboard (1).
アクリルケースと押し板の完成品その2.
Finished acrylic case and pressed plate (2).


Copyright © 2017-2023 Yoshio Okamoto All Rights Reserved.